Setting up a 2nd email address on gmail
Having a professional e-mail address, such as prenom.nom@votredomaine.com, is a real asset for boosting your company's credibility. Gone are the days when personal addresses lacked seriousness - now's the time to send a clear message to your customers and partners.
As well as being one of the most popular e-mail services, Gmail offers an easy-to-use interface and ultra-practical features. And the good news is that you can easily integrate it with your own domain name! Whether you're a small, fast-growing company or a professional looking to strengthen your online image, setting up a Gmail business email address is an essential step towards enhancing your communications and asserting your identity.
In this article, we'll take you step-by-step through the process of setting up your own professional email address on Gmail, to optimize your communication and project a solid brand image.

Step 1: Sign in to your Gmail account
Start by logging in to your usual Gmail account with your login and password.

Step 2: Go to Settings
Once you are logged into Gmail, click on the settings icon ⚙️.
Then "See all settings".

Once in Settings , go to Accounts and Import

Step 3: Set up e-mail reception
Once on Accounts and Import, find the "Check other e-mail accounts" section: Click on Add an e-mail account

Step 4: Add an e-mail account
Once you've clicked on add an e-mail account, enter the e-mail address you've created at OVH.

Check Import e-mails from my other account ( POP3) and click "Next".

Step 5: Fill in the required information
Username: your OVH e-mail address
Password: the password of the
e-mail addressPOP Server: ssl0.ovh.net
Port: 110 or 995
Then underneath, tick boxes n°1 and n°3
Click on "add an account".
Congratulations, you've just set up gmail to receive emails! Now we're going to set up the sending of emails.
Step 6: Set up e-mail delivery
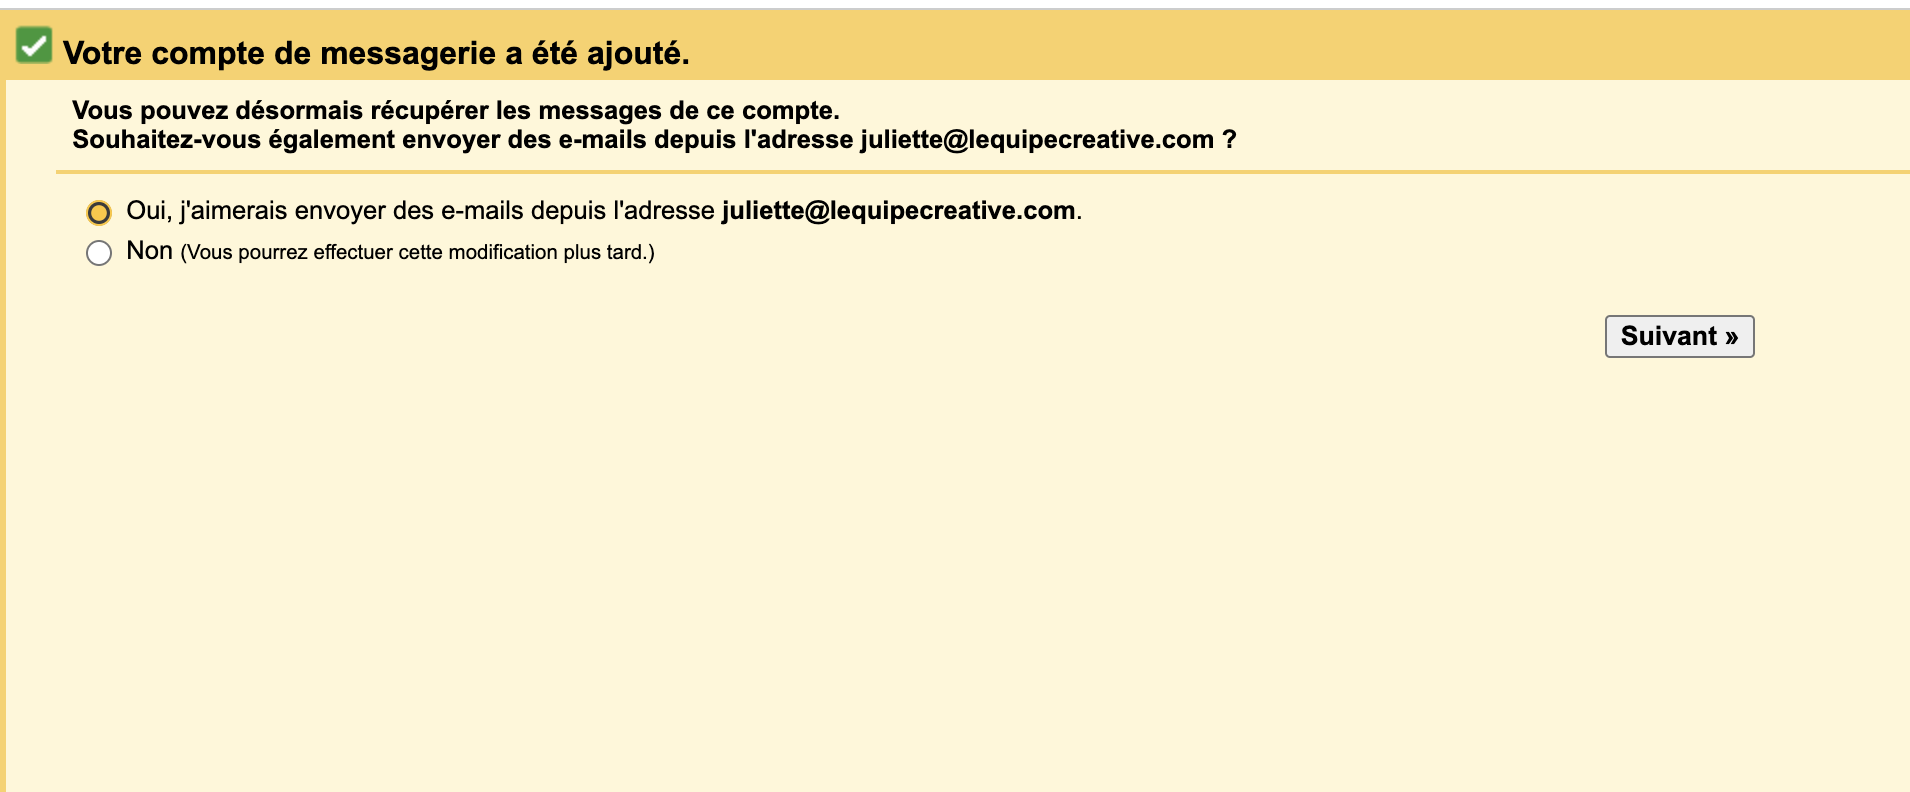
Continue the process by setting up e-mail sending from this address by clicking on "Yes, I'd like to send e-mail from address ...".

Or return to Accounts and Imports, then go to "Send emails as" and click on Add another email address.

Step 7: Fill in the required information
Please fill in the following fields:
Name: with the name you would like to be displayed when sending an e-mail.
E-mail address: with your OVH e-mail address.
Click on "Next step".

Then fill in:
SMTP server: ssl0.ovh.net
Port: 587
Username: your full e-mail address
Password: the password for the e-mail address
Choose TLS secure connection
Click on add an account
Congratulations! You can now receive emails from your business address on gmail and choose the delivery address when sending an email.
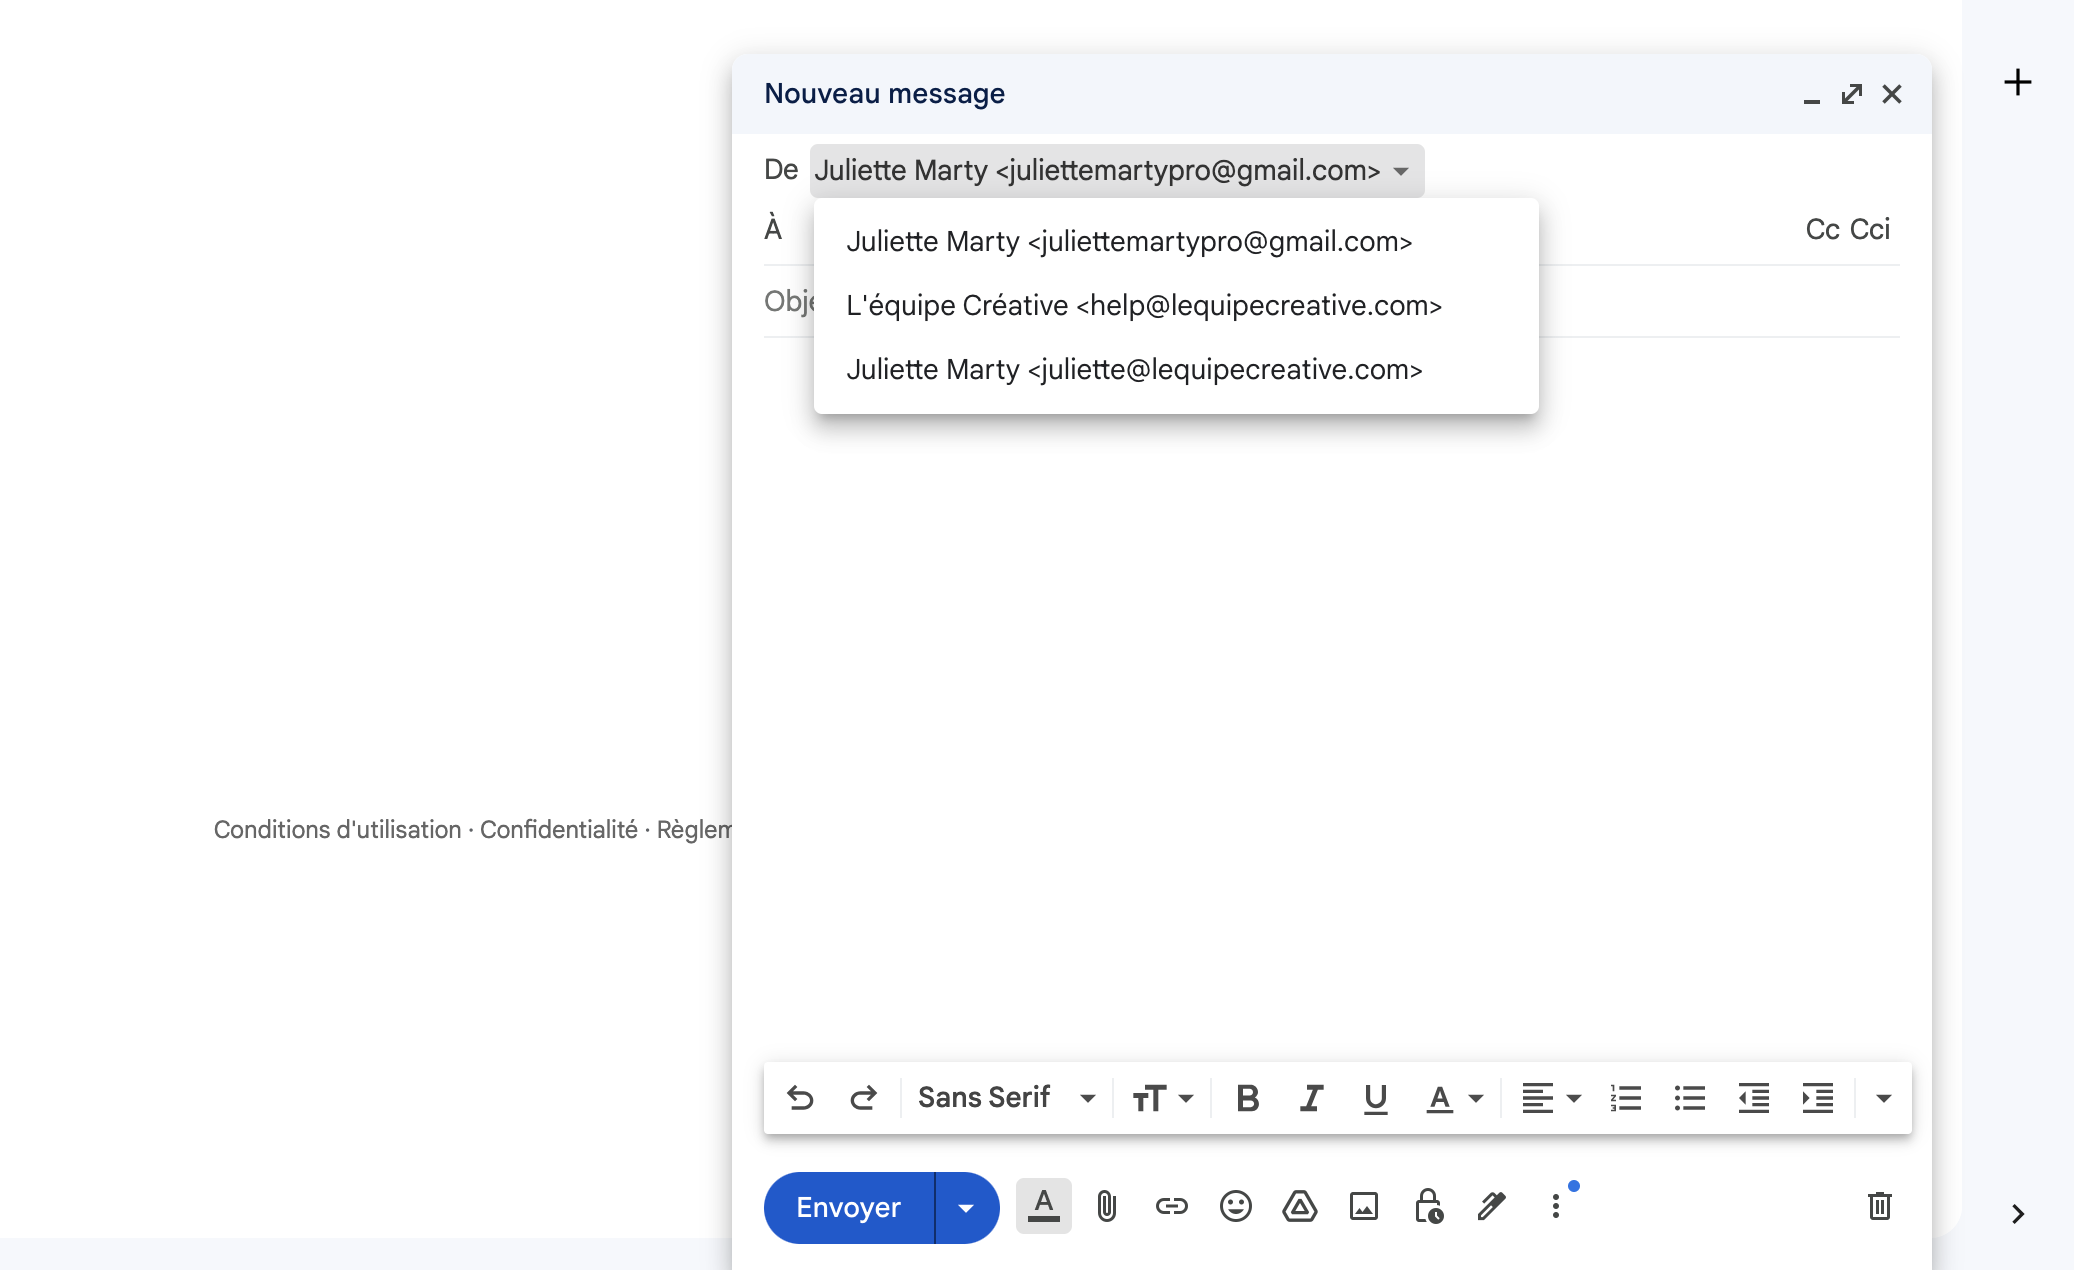
Select shipping address
To send an e-mail from the new e-mail address you've just added, select it when sending.

To check your e-mails instantly
It's important to know that you don't receive e-mails instantly. To check your e-mail without having to wait, go to "Accounts and Imports", then in the "Check other e-mail accounts" section click on the "Check your e-mail now" button.